Thursday, February 13, 2014

Save for this pair of Uggs!

So what do you do when the menace, otherwise known as Duke the beagle/hound mix, puts a hole in the Little ladies $180 Ugg???

If you are this momma you first throw it in the trash and threaten to leave the back gate open for the menace.... then you collect yourself, and the Uggs, and turn tall Uggs into short ones!

I have to say I'm pretty impressed. They look great and unless you knew they had been altered probably wouldn't even notice. I did stitch the side and back seams being that cutting the tops off severed them but that was super easy.

I'm happy, the Little is happy, and the menace has learned his lesson!


Tuesday, February 11, 2014

Just a moment to reflect in this age of digital photographs...

My mom as a little and how adorable she was! I do believe my sister is a clone!

Have you ever been asked "what's the one thing you'd take out of a burning house?"? Most always the answer is photographs. I remember my mom saying that when I was a little. Of course way back then, family photos were hard copies of 3" x 5" or 5" x 7" fading prints that had been meticulously organized in album after album and tucked away in boxes somewhere in the basement. From time to time over the years while visiting my parents I still go looking for those old albums. From grandparents long gone, to my siblings and I first birthdays, to family trips to the lake, weddings and on and on it's such a wonderful trip down memory lane.

These days reminiscing via "photo albums" is grabbing my iPad and scrolling through photo after digital photo.... and I have literally thousands! I'm not saying one is better than the other because, pictures are pictures and the important ones can illicit strong emotions. But, there is something to be said for physically flipping the pages of an old beat up album and realizing that some of those loved ones long gone carefully compiled those memories for us to have today.

A day at the beach somewhere on the shore of Massachusetts.

In this day of Facebook, email, Twitter and smartphones its so easy for families to share pictures and videos of old and new, and my family is no exception! The black and white photos above were found and posted by a third cousin of mine, who lives clear across the United States from me. Not to mention I haven't seen her in at least 20 plus years! So thrilled to have them as the little pictured above is my mom some 57 (or so) years ago......


Thursday, February 6, 2014

Snow Day Valentine Crafts


One of my favorite things about Valentine's Day is the opportunity to make handmade goodies for the littles classmates. The oldest "little" now in middle school, announced he's too old, but that's okay... I have two littles ready and willing! Luckily I planned ahead knowing we'd be snowed in and collected all the goodies needed for this years bunch.

Here's what I used:

  • pretty cardstock cut to 5" x 7" size
  • glue dots
  • clear cellophane bags
  • double sided tape
  • Sweedish Fish
  • pom pom creatures
  • sticky mustaches

Martha Stewart's Craft Studio app is great for making cards of all sorts. It's a free download with a limited amount of included backgrounds and design elements. There are many other themes that can be purchased for $1.99 each.

I purchased one of the Valentine themes and used elements for both the "stuck on you" and "fantachetic" cards. The app is very user friendly and super easy to use!

By using glue spots to attach the little pom poms and the mustaches, it leaves the sticky backing for the kiddos to use wherever they like.

Sure these cost a bit more than the drugstore valentine cards embellished with charecters of all sorts but, to me a little effort and creativity (and lots of perusing on Pinterest) go a long way!


Thursday, May 10, 2012

My Own Version of the $3.99 Mango Smoothie....


I love Panera smoothies! I would get one everyday but it's a bit inconvenient and costly. So I decided to figure it out and make my own.....


First to make is the mango puree, yummy!
This is what you need:
·     3 mangos peeled and cut into chunks
·     1/4 cup of water
·     juice from a lemon
·     2 tablespoons sugar or honey (more or less depending on your preference)
Puree all the above and store in a container. I used one of my reserved coffee mate containers; they have about a billion uses! May be kept in the refrigerator for up to three days or frozen for a month.


Time to make the smoothie!
Combine about 1/3 of the mango puree, with 1/3 a cup of plain or vanilla yogurt, and a scoop of ice in a blender and process until your desired consistency. I love my Ninja for this! It's very efficient at smoothing. I found my original concoction was a bit tart and added some honey into the mix.


Easy peasy! Delicious, nutritious, affordable, and I know what's in it!
The possibilities are endless. Next up will be peach.

Tuesday, May 1, 2012

DIY: Mason Jar "sippy"...

Summer is here, just about, and with it comes yummy drinks for the season. Light, bright, and lovely, colorful drinks.

Mason jar "sippies", as I like to call them, are not only functional but very attractive, as well as inexpensive and easy to make.

Here's what you need:

-16oz Ball Mason Jars with lid & ring

-rubber grommets (these can be found at your local hardware store)

-piece of wood

-drill

-step bit

-screwdriver or something to maneuver the grommet in

Before drilling measure the size of the grommet you are using on the bit as they do come in different sizes.


The step bit is nice to ensure you don't make the punch too large!


I have a set at home, a set in the camper, even a set made of the plastic Ball jars for the littles! They also make adorable gifts...
Fill with your favorite beverage and enjoy.

Easy peasy!

Featured...

Thanks to Jenilyn at Grits & Giggles for featuring my DIY: Sugar Scrub!!! Featured Button">

Pop on over and see her other picks!

Wednesday, April 25, 2012

Chocolate Coconut Pudding Pie Shots: Homemade with a Kick!

Chocolate Coconut Pudding Pie Shots: Homemade with a Kick!

Yummy for summer time cook-outs, camping, or the family get together BUT this version is for the grown-ups only:)

The above I made in handy dandy single serving "shot" portions.... however, I thought I'd whip up a "share" portion as well, and instead of using the oh so convenient plastic cups, I got fancy with small glass custard cups! As shown below....

Super yummy and easy peasy!

 I started with a simple (but sweet) graham cracker crust.
Combine:
- one stick of butter melted
- one sleeve of crushed graham crackers
- 1/4 cup of sugar in the raw
Layer the bottom of each cup with the crust.


The "pie filling" is as follows:
- 3/4 cup milk
- 1/4 cup coconut vodka, I like Pinnacle
- 1/2 cup Baileys Irish Cream
- about 5oz/3/4 container Cool Whip
Put all the ingredients in a bowl and beat with mixer until well combined.


Pour over graham cracker crust and freeze for at least a couple of hours. Top with whip cream and serve!


In my head I have a million other "pie shot" ideas! I'll share as I explore!


Tuesday, April 24, 2012

Make your own Sugar Scrub!!!!

Easy peasy, DIY sugar body scrub!
Honestly it does not get any easier than this and it's inexpensive to boot.
Two easy to find ingredients and a cute little jar, clearly I'm partial to and have a bunch of mason jars, and your ready to scrub.

Ingredients:
-Sugar In the Raw
-Palmers Moisturizing Body Oil
*Combine in a small mason jar, mix, and enjoy!

I keep this in the bath and use it 2-3 times a week. It gets rid of dead skin and particles and leaves my skin soft.

Wednesday, April 18, 2012

The Giving Tree....

One of our most favorite things to do is to hike with the furry one. We are lucky enough to have a beautiful apple orchard near our home with trails that circle two reservoirs. A gorgeous hike.
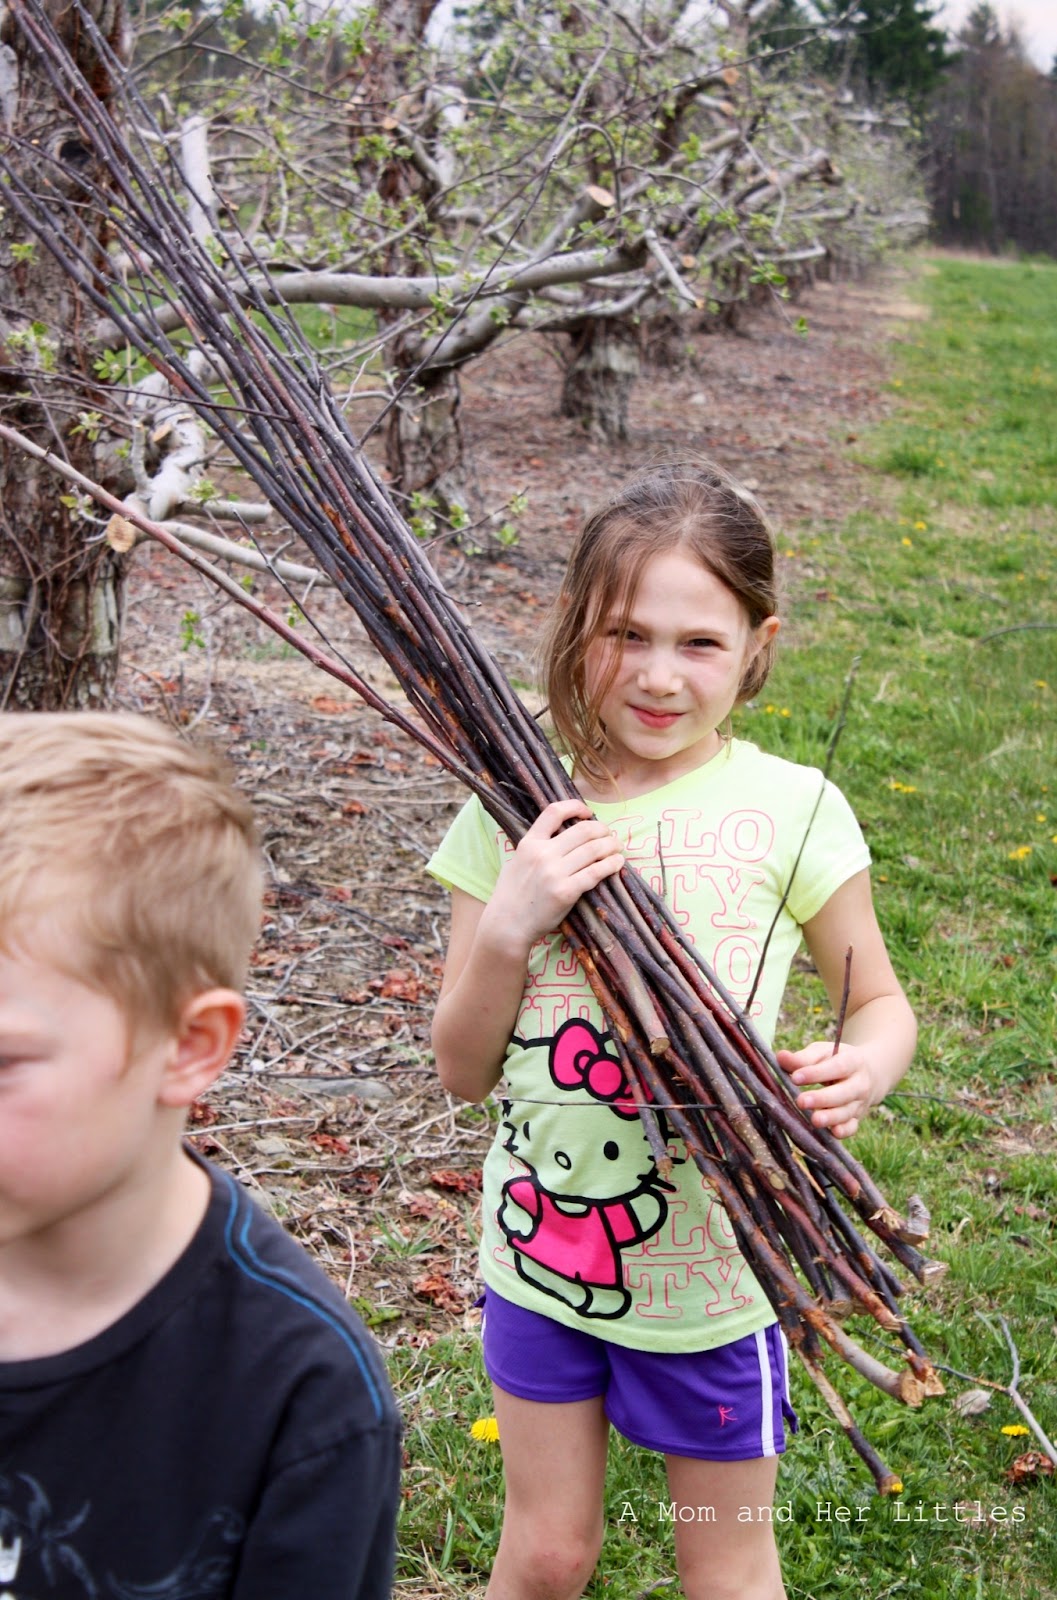
This past weekend with the lovely weather we've had, we were able to hike several times. It's that time of year at the orchard when the volunteers collect fallen branches to discard and there were many on the ground. Knowing we'd be having a campfire and we always make s'mores we decided to collect fallen branches to use as roasting sticks..... they were perfect! Nice and straight and easy to clean, and it reminded me of one of my favorite childhood stories The Giving Tree. The kids got a little tickle out of that as well.
 

We all really enjoyed the campfire and delicious s'mores!

Sunday, April 15, 2012

Oh the Things I Put in my LunchBots.....

I try my best to be as Eco-friendly as possible. The boy and the littles are wonderful at cleaning and separating recyclables, and we use reusable snack and sandwich bags when packing lunches. A couple of years ago I purchased a stainless steel container at a Whole Foods Market for packing salad lunches. I was hooked and went on the hunt for more.


I did not find the same as previously purchased but I did find LunchBots. A company committed to making food safe, Eco-friendly containers. Made from stainless steel their containers are durable and come in array of sizes and colors. The rectangles are great for snacks or sandwiches but my favorite are the rounds, perfect for fruit, salsa, or salad. A few of my favorites! Easy to carry and clean the best containers for your lunch.

So go, be green and share what you fill your LunchBots with!

Thursday, April 12, 2012

Feed Me Friday!

So excited to be featured in this week's Feed Me Friday Link-up!!!
I'm fairly new to the blogging world and already completely hooked. It's wonderful to share my ideas and thoughts and be inspired by so many of yours.
Thanks for the opportunity! I look forward to visiting each of you....


Welcome to Feed Me Friday Blog Hop, hosted by Oh So Savvy Mom, Nap Time is My Time, Great Contradictions and Just Us Four!


Feed Me Friday is a Blog Hop to help you meet new bloggers and build your e-mail subscription. Want to be a part of Feed Me Friday? Just follow these simple rules:

- Add your blog link to the linky

- Subscribe by email and follow via Google+ the four hostesses (Oh So Savvy Mom, Nap Time is My Time, Great Contradictions and Just Us Four) and the Featured Blog of the Week. Make sure to leave us a comment and we will return the favor. Visit as many blogs on the list as you can. If you like the blog subscribe to their email (feel free to follow on Google+ too, if you want)

- Leave them a comment with your blog link so they know you are subscribing from Feed Me Friday. Be sure to confirm your subscription! Subscribing back is not mandatory, but it is recommended. It is a great way to build blogging relationships.

Since this is an email subscription blog hop, your blog must have a place for people to subscribe to your email. If there isn’t an email subscribe option, your link will be removed from the linky without warning.


Every Friday we will put up a new Feed Me Friday linky, so be sure to stop by and add your blog. Each week we will choose one participant from the previous week’s blog hop to be the Featured Blog of the Week.


This week's featured blogger is:


A Mom and Her Littles is a blog about camping, crafting, hiking, feeding, homework, work work, and everything in between!


Thanks so much for linking up with this this week. If you're a new participant, please be sure to leave a comment below!

My Own Little Pintimate Party....


I love Pinterest! Like so many of you I'm sure, I spend more time than I care to admit perusing and pinning recipes, projects, and places to visit. All with the intention of referencing and doing them all myself! I even do on occasion.

I also happen upon some of the most fabulous blogs. Pinterest is the best marketing tool. So in the midst of reaffirming my healthy lifestyle, I'd fallen off the wagon a bit, I pinned a super little recipe, from the cutest little blog, for yummy looking Trail Mix Balls. Jenna writes Eat Live Run and i think it's lovely.

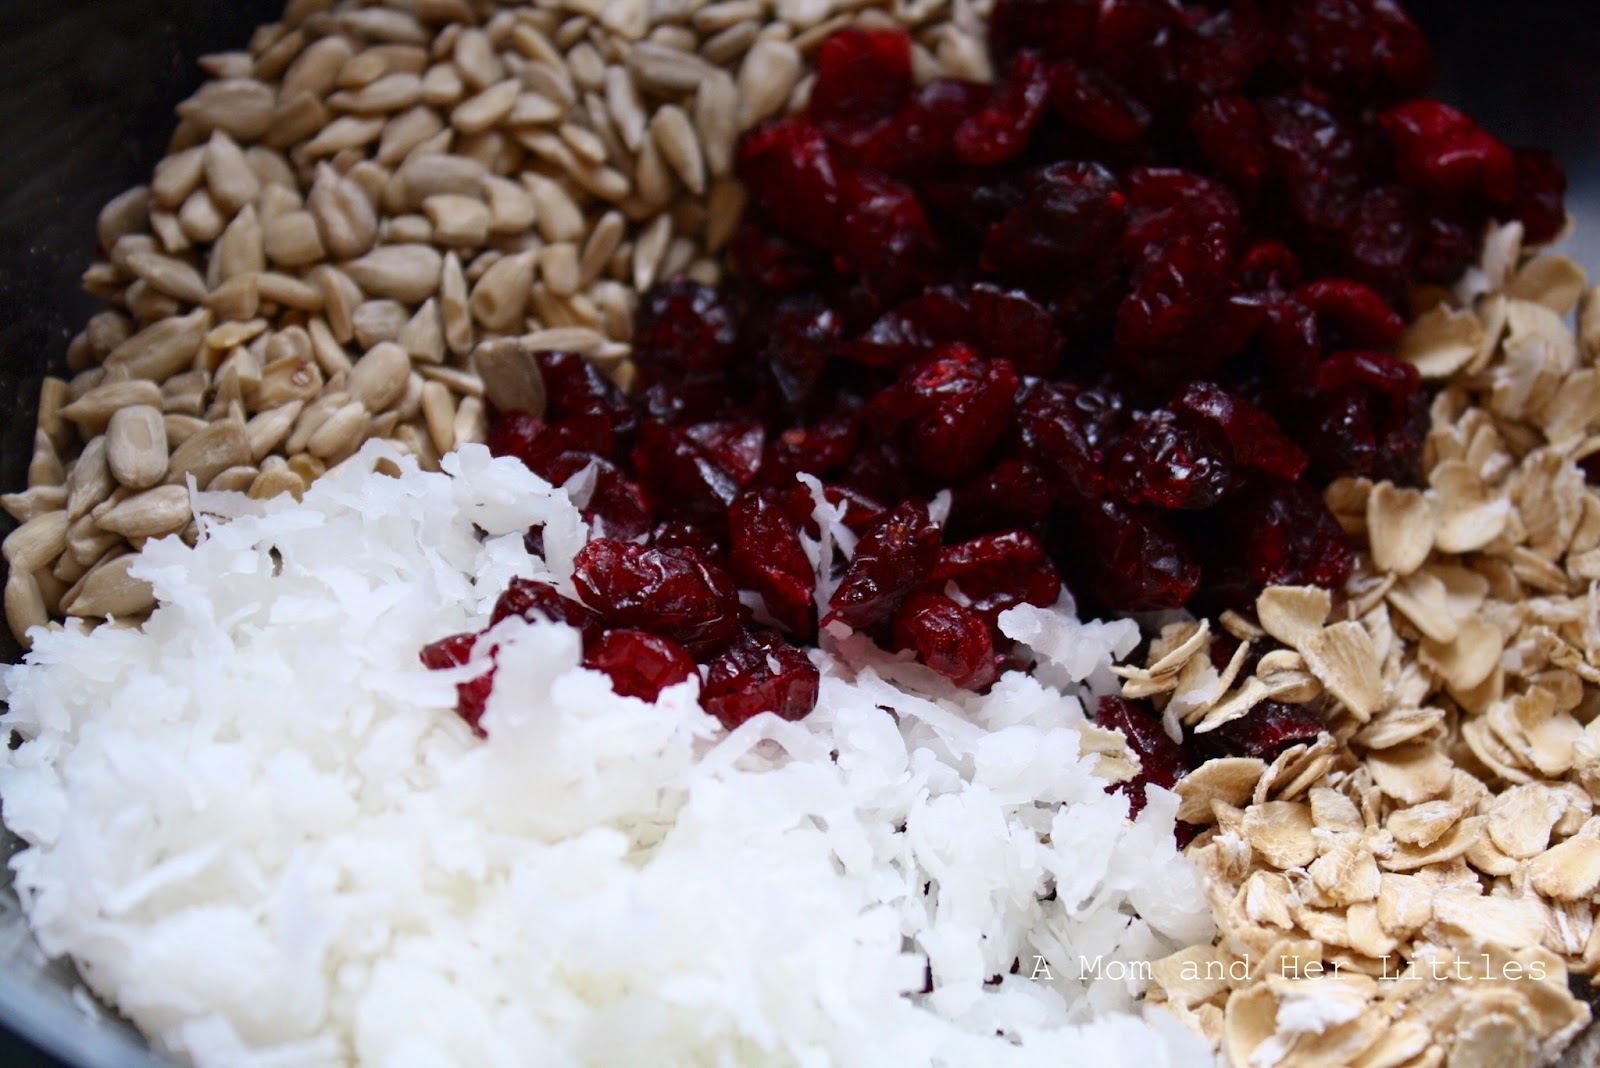
Quinoa, oats, cherries, seeds, honey, peanut butter, and chocolate all ingredients for this handy, healthy, on the go little snack. You can make them too: Trail Mix Balls - Recipe
The best part is how it smells once you add the honey mixture!
So excited for my morning hike tomorrow!!

Wednesday, April 11, 2012

QR Codes and All That Jazz...

In the age of smartphones, tablets, iPads, and all things electronic keeping up with the bazillion ways to market can be overwhelming to say the least. I mean if you don't blog (gasp), Facebook, Tweet, and Pin, you're just not doing it right!

Sitting outside the local pizza shop the other day, I noticed in the window of the salon next door, a large colorful add with an attached QR Code. So I held up my handy dandy iPad, scanned the code (from the comfort of my car), and easy peasy I was looking at the salon's daily specials on their website within a matter of seconds. Like magic and in my opinion genius!

So, that set me off to find my own QR Code. Guess what, there are lots of sites that generate this little black and white box for FREE! Yay! Not only did I find the generator but plenty of ideas as to whereto put the QR Code. Hats, T-shirts, bags, coffee mugs, even chocolate as an add medium. 

Blogs, Etsy shops, YouTube, Facebook, plain text, and phone numbers are just a few of the electronic imprints you can attach to a QR code. The possibilities are endless!

This is the site I used to generate a code: http://www.qrstuff.com/ but as I said a google search produced many. So go code away and market prosperously!!!

Monday, April 9, 2012

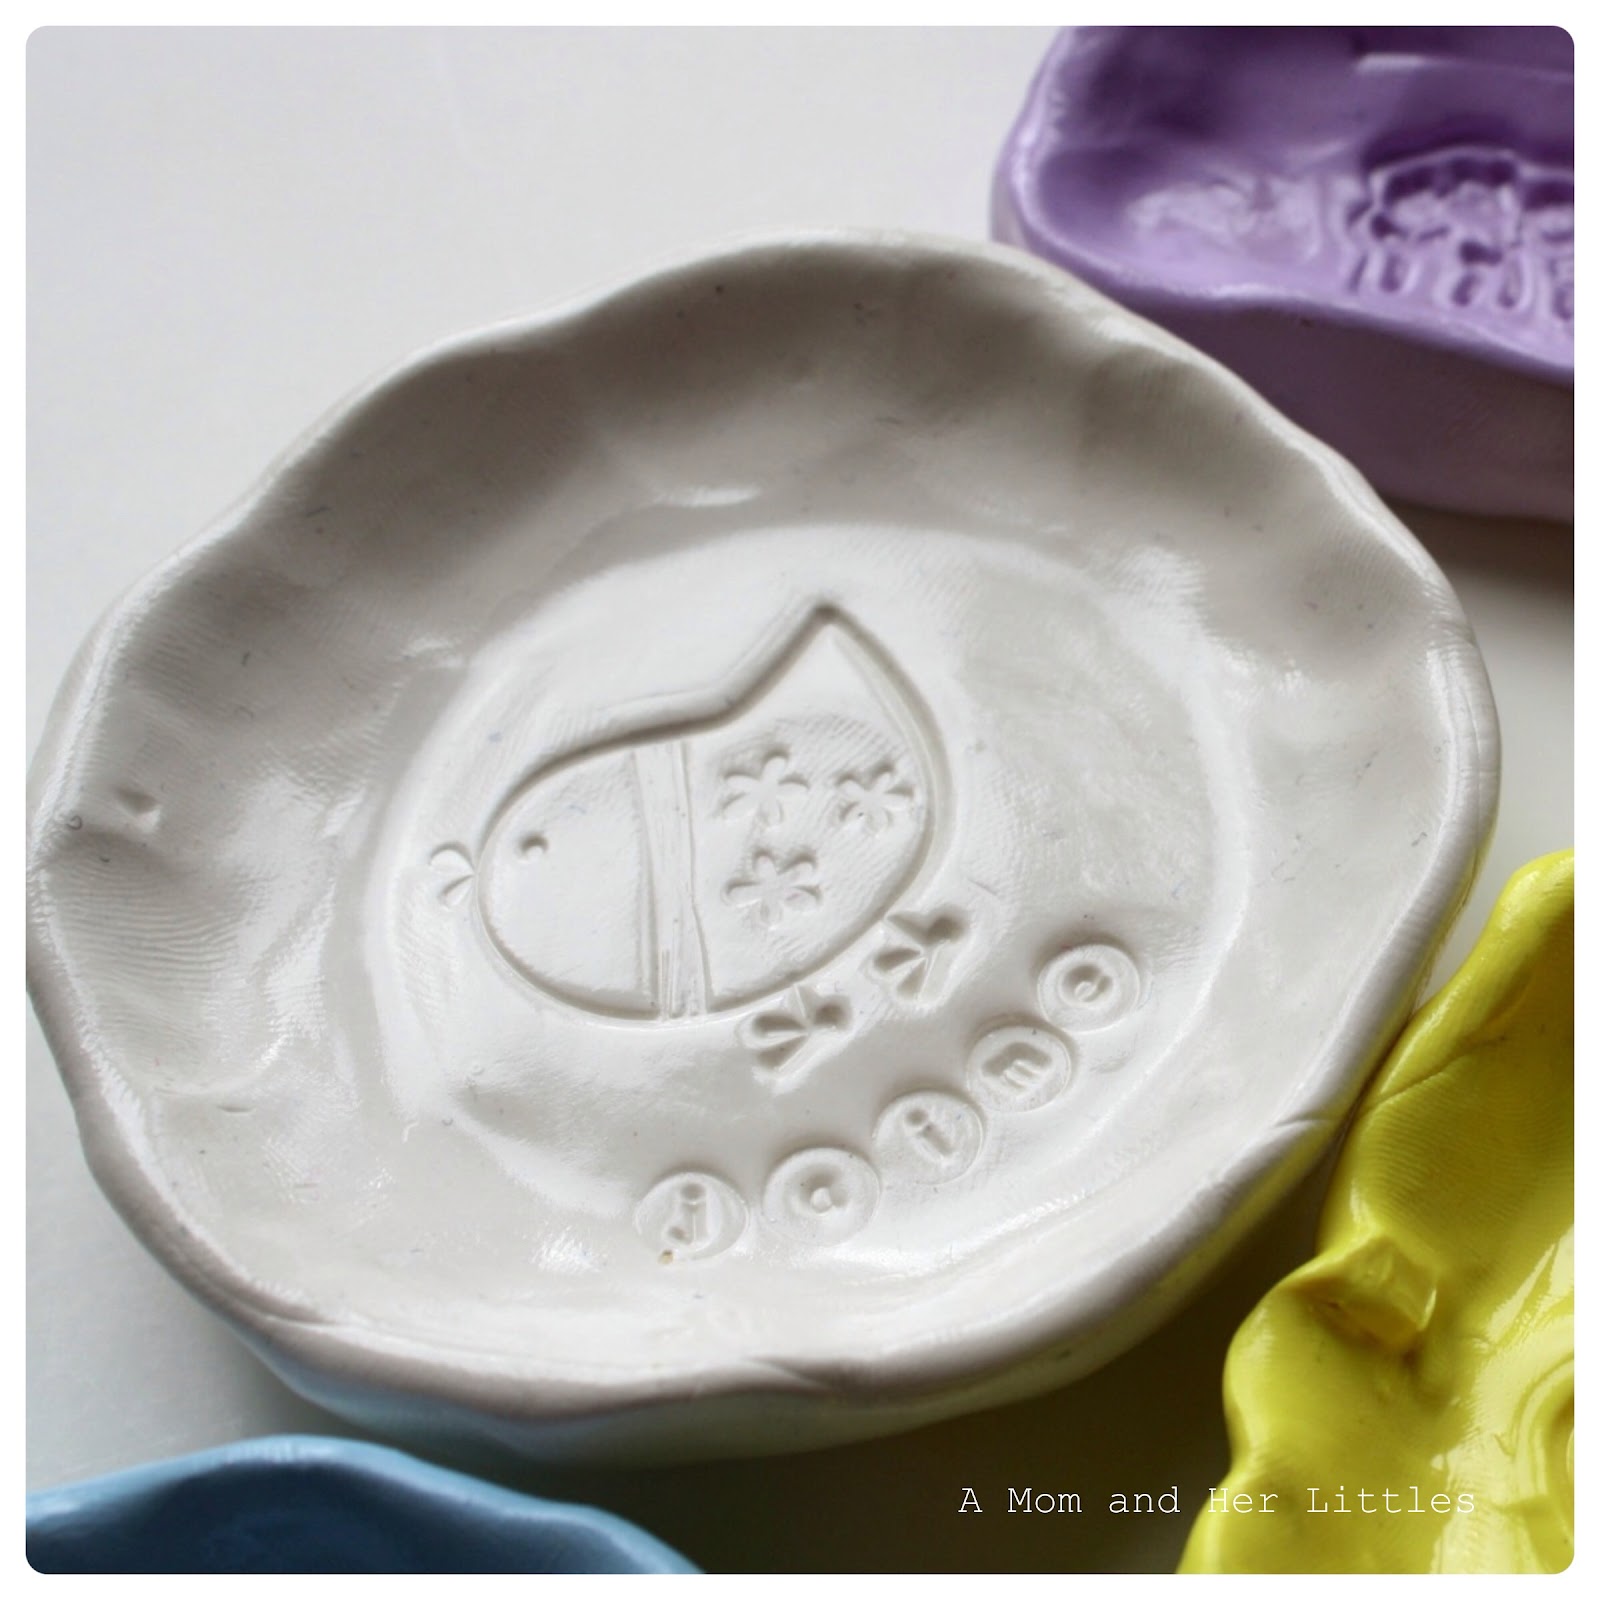
Super Sculpey DIY Little Jewelry Dishes....

A sweet, simple gift any little (with a bit of help) can make up in an afternoon!
Perfect for a teacher, mother, friend, or anyone who appreciates cute. Super easy peasey, inexpensive, and quick!

The whole project costs about $20 and that produced six small dishes. I got all the above supplies at Michaels. Don't forget your 40% off coupon!


Each was made from one 2 oz package of Sculpey III. The Little Lady and I rolled and shaped the dishes to the dimensions we wanted. For the round ones I used a curved bottom glass just to shape. After we were pleased with the shape we gently stamped our design. I used my jewelry letter stamps for the personalization, but you can purchase letter stamps specifically for clay if you like.
Place your prepared forms on a parchment covered baking sheet and bake according to package directions. Mine were baked for 30 minutes at 275*.


Use a glaze to give your little project a finished look! I used Sculpey's gloss and love the way they turned out!


Happy crafting!!!